

Turntable Setup Guide: 7 Adjustments That Transform the Best Turntables in Australia
Buying one of the best turntables Australia has to offer is only the beginning.
The real performance is unlocked in the setup.
A precisely aligned cartridge, a level platter and a correctly matched phono stage can transform the way your records sound. You may hear quieter groove noise, firmer bass, more convincing vocals and a wider, deeper soundstage.
We have seen a well-set-up $800 deck comfortably outperform a badly set-up $4,000 one. That is not a sales pitch. It is simply how mechanical analogue playback works.
Your turntable is a precision instrument. The stylus is reading microscopic information from a groove. Small errors at that point can become audible distortion, unstable imaging and a presentation that feels flat or fatiguing.
This practical turntable setup guide covers seven adjustments that help you extract the music your deck, cartridge and records are capable of delivering.
1. Level the plinth and platter
Begin with the foundation.
Place your turntable on a stable, rigid surface. Then use a small spirit level to check the platter from front to back and side to side. Adjust the turntable’s feet if available, or carefully level the supporting surface.
Why does it matter?
The tonearm relies on gravity and carefully balanced forces. If the deck is tilted, the tracking force and anti-skate behaviour can become uneven. The stylus may press more heavily against one groove wall than the other.
The result can be:
- Uneven channel balance
- Increased groove noise
- Less precise stereo imaging
- Bass that feels soft or poorly controlled
- Greater risk of mistracking
Think of the platter as a stage. If the stage is crooked, the entire performance is compromised.
This first adjustment is simple, but it is often overlooked. It is also one of the reasons a quality turntable can sound underwhelming straight out of the box.
2. Align the cartridge and set overhang
Cartridge alignment is where precision starts to become critical.
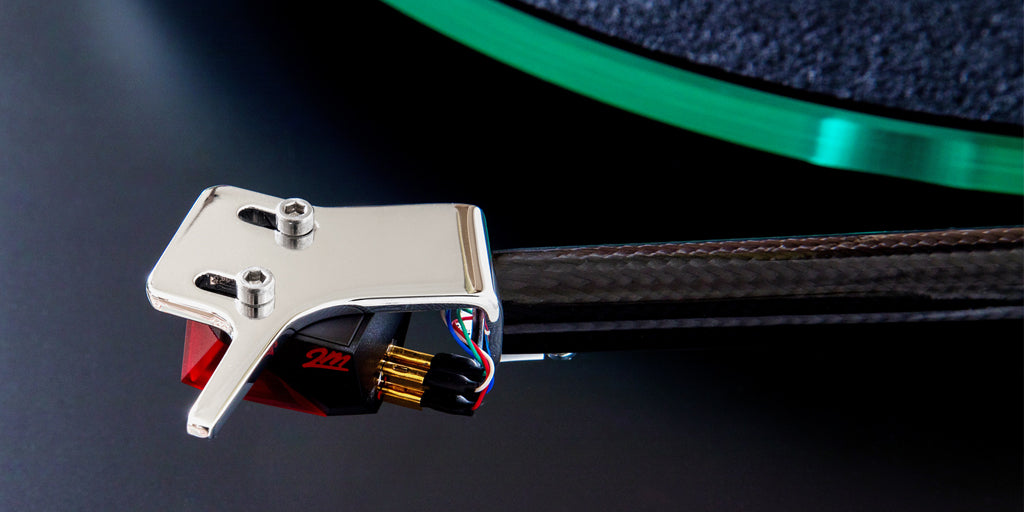
As the tonearm moves across a record, the stylus traces an arc rather than travelling in a straight line. Correct alignment reduces the angle between the stylus and the groove across the record surface.
You will usually need an alignment protractor. Follow the instructions supplied with your tonearm or turntable where possible. A universal protractor may work, but the correct geometry depends on the arm.
The basic process is:
- Secure the tonearm and turntable.
- Set anti-skate to zero temporarily.
- Place the protractor over the spindle.
- Position the stylus on the specified alignment points.
- Adjust the cartridge forward, backwards and rotationally until the cantilever lines up correctly.
- Tighten the cartridge screws carefully and recheck the alignment.
Overhang refers to how far the stylus extends beyond the spindle centre when viewed from above. It is not a cosmetic measurement. It determines how the cartridge tracks the record groove.
Where possible, align the cantilever rather than relying only on the cartridge body. Cartridge bodies are not always perfectly square.
When this adjustment is right, inner-groove distortion is reduced. Cymbals sound cleaner. Piano notes remain more focused. Loud vocal passages track with greater composure.
3. Set tracking force and anti-skate together
Tracking force is the downward pressure applied by the stylus to the record.
Too little force can cause the stylus to lose secure contact with the groove. That often produces mistracking, splashy treble and distortion during loud passages. Too much force can increase record and stylus wear.
Always start with the cartridge manufacturer’s recommended range. A digital tracking-force gauge is more accurate than relying solely on the numbered dial on the counterweight.
The usual process is:
- Set anti-skate to zero.
- Balance the tonearm so it floats level.
- Set the counterweight dial to zero without moving the counterweight itself.
- Rotate the counterweight to the recommended tracking force.
- Confirm the result with a digital gauge if possible.
Then set anti-skate.
Anti-skate counteracts the inward pull that occurs as the stylus tracks the spinning record. A sensible starting point is to set anti-skate close to the tracking-force value, then refine it according to the cartridge, tonearm and listening results.
If anti-skate is too low, one channel may sound rougher or more congested. If it is too high, the opposite channel may become more prominent and the stylus may not sit naturally in the groove.
The goal is not a number for its own sake. The goal is balanced, stable tracking.
4. Set vertical tracking angle and tonearm height
Vertical tracking angle, or VTA, describes the angle at which the stylus sits in the record groove.
If your tonearm has adjustable height, begin with the arm approximately parallel to the record surface while playing a standard LP. From there, make small adjustments and listen.
Raising the rear of the arm can produce a more open, brighter presentation. Lowering it may give a fuller, smoother tonal balance. The ideal result depends on the cartridge, stylus profile, record thickness and the rest of your system.
Do not chase microscopic changes endlessly.
Use a familiar recording. Listen to vocals, cymbals and bass lines. You are looking for a coherent balance where the music feels natural rather than artificially sharpened or overly warm.
Some turntables make VTA adjustment straightforward. Others are designed around a fixed tonearm height and supplied cartridge combination. Both approaches can work very well when correctly matched.
The NAD C 588, for example, includes adjustment for vertical tracking angle and azimuth as part of its design. That reflects an important principle: mechanical adjustability can help you fine-tune the relationship between cartridge, tonearm and record.
5. Choose the right mat and platter interface
The mat is not merely a soft surface to protect your records.
It forms part of the mechanical interface between the record and platter. Its thickness changes the height of the record relative to the tonearm. Its material affects resonance, grip and the way unwanted energy is dissipated.
A thicker mat can alter VTA by raising the record. A thinner mat can lower it. Changing from felt to rubber, cork or another material may also change the character of the sound.
You may notice:
- Tighter or looser bass
- A quieter background
- Changes in treble smoothness
- More or less image focus
This is why mat selection should be treated as part of setup rather than an isolated accessory upgrade.
The best choice is the one that works with your platter, cartridge and tonearm geometry. It should sit flat, avoid slipping and maintain consistent contact with the record.
A good platter interface is an invisible part of the system’s foundation.
6. Isolate the turntable from footfall and speaker vibration
We have all experienced the ultimate mood killer: walking across the room and hearing a thump through the speakers.
Turntable isolation is not about making the deck float in mid-air. It is about controlling unwanted energy.
Place the deck on a rigid, stable support. Avoid lightweight furniture that flexes, rattles or resonates. Keep the turntable away from subwoofers and, where possible, avoid placing it directly between or immediately beside the main speakers.
A wall shelf can be useful in rooms with springy floors. Properly designed isolation feet or platforms may also help, but they cannot compensate for a fundamentally unstable cabinet.
Speaker placement matters, too. Speakers should be securely supported and positioned so their acoustic energy is not directed straight into the turntable.
This is particularly important with high-output systems. The more dynamic your speakers, the more carefully you need to manage mechanical feedback.

When isolation is right, low frequencies become more controlled. The noise floor drops. Bass notes stop smearing into the next phrase. The system feels calmer, even when the music is powerful.
7. Match phono stage gain and loading to the cartridge
The phono stage is the electrical foundation of your vinyl system.
A cartridge produces a very small signal. The phono stage amplifies that signal and applies the equalisation required to restore the tonal balance of the recording.
It must be matched to the cartridge type.
Moving Magnet, or MM, cartridges generally require an MM input. Moving Coil, or MC, cartridges may require a higher-gain MC input and different loading. Some phono stages provide adjustable gain and impedance, while others are designed for a particular cartridge category.
Incorrect matching can result in:
- Excessive hiss
- Weak or unusually quiet playback
- A harsh or compressed sound
- Poor dynamics
- Tonal imbalance
Start with the cartridge manufacturer’s recommendations. If your phono stage offers selectable gain or loading, make changes carefully and listen at matched volume levels.
Primare’s R35 is a dedicated phono stage designed to accommodate MM and MC cartridges, with adjustable gain and loading to help you fine-tune the match. NAD also offers thoughtful phono solutions across its wider range, including components that blend vinyl playback with modern streaming and amplification.
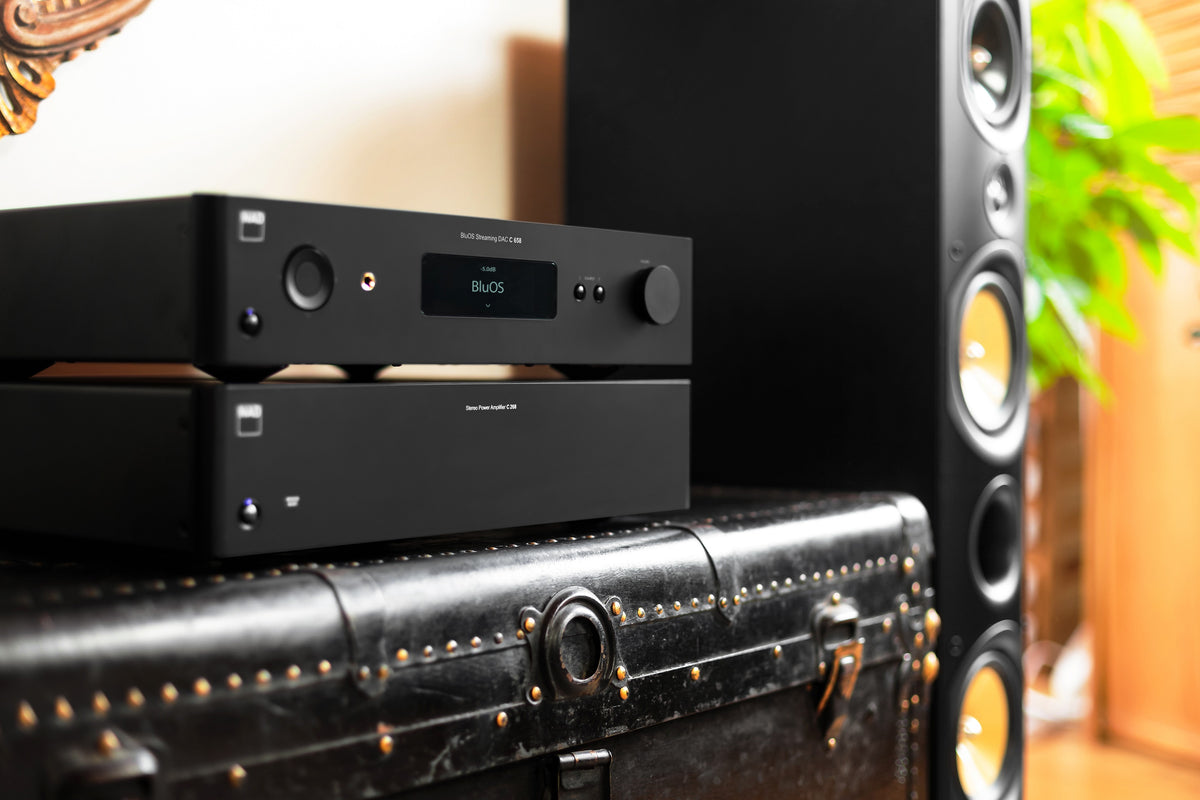
The phono stage is often hidden away in the rack, but it is doing the heavy lifting. A well-matched stage can reveal more texture in a cello, more air around a vocal and more space between instruments.
The honest answer: setup matters more than the price tag
The best turntables in Australia deserve careful setup.
That does not mean you need to obsess over every millimetre or buy a laboratory full of tools. It means respecting the relationship between the deck, cartridge, tonearm, phono stage, speakers and room.
A sensible setup sequence is:
- Level the deck.
- Align the cartridge.
- Set tracking force.
- Set anti-skate.
- Adjust tonearm height if available.
- Check the mat and platter interface.
- Confirm isolation and phono-stage matching.
This is the difference between owning a turntable and enjoying a complete analogue experience.
At Toma Audio, we approach a turntable as part of a wider system. A Music Hall deck may suit one listener and room beautifully. A NAD or Primare phono stage may be the right foundation for another. Marantz amplification, Spendor speakers or the Klipsch speakers our customers love can each bring a different character to the final presentation.
There is no universal answer. We listen first.
If you are planning a new system, upgrading an existing vinyl record player Australia setup or considering a broader home entertainment project, the same principle applies. Every component should work together as one seamless whole. That includes a carefully planned home theatre installation Gold Coast homeowners can live with every day.
You are welcome to bring your turntable into our Tweed Heads showroom for a setup check and audition. We can help you understand what your equipment is capable of before you spend money on another upgrade.
Browse our turntable collection, or contact Toma Audio to arrange a relaxed conversation at our Tweed Heads showroom. Bring a record you know well. We will listen together.